
Are you looking for a reliable and efficient way to monitor the performance of your solar system’s battery? Look no further than the Renogy Battery Monitor. In this article, we will provide you with a comprehensive guide to understanding and utilizing the Renogy Battery Monitor manual, covering everything from its features and installation process to troubleshooting common issues.
Having a battery monitor for your solar system is essential for ensuring optimal performance and longevity of your batteries. Without one, it can be challenging to accurately gauge the state of charge, voltage levels, and overall health of your batteries. The Renogy Battery Monitor provides real-time data on your battery’s status, allowing you to make informed decisions about energy usage and maintenance.
The Renogy Battery Monitor comes equipped with a range of advanced features and capabilities designed to make monitoring your solar system as seamless as possible. From tracking historical data on energy consumption to customizable alarms for low voltage or high temperature, this device offers a comprehensive solution for managing your batteries effectively.
In the following sections, we will delve into the specifics of these features and provide you with a step-by-step guide for installing and understanding the Renogy Battery Monitor manual.
Why You Need a Battery Monitor for Your Solar System
Having a reliable battery monitor for your solar system is crucial to ensure the efficient and safe operation of your system. A battery monitor allows you to keep track of the state of charge, voltage, and current flowing in and out of your batteries, providing you with essential information on the health and performance of your solar power setup. Here are some reasons why you need a battery monitor for your solar system:
1. Monitoring Battery Health: A battery monitor allows you to assess the state of charge of your batteries, which is crucial for preventing overcharging or deep discharging. It also helps in identifying any potential issues with individual batteries in a multi-battery bank.
2. Maximizing Battery Life: By closely monitoring the state of charge and voltage levels, you can optimize the charging and discharging cycles of your batteries, ultimately extending their lifespan.
3. Preventing System Failures: With real-time data on the performance of your batteries, a battery monitor can alert you to any anomalies or malfunctions in your solar system, allowing you to address issues before they escalate into more significant problems.
Investing in a high-quality battery monitor like the Renogy Battery Monitor provides peace of mind knowing that you have full visibility and control over the performance of your solar power setup. In the next section, we will delve into the features and capabilities of the Renogy Battery Monitor and how it can benefit your solar system.
Overview of the Renogy Battery Monitor Features and Capabilities
The Renogy Battery Monitor has become an essential component for solar power systems, allowing users to accurately monitor the performance and status of their batteries. This device provides real-time data on important metrics such as voltage, current, temperature, and state of charge, giving users valuable insights into the health and efficiency of their battery bank. With its advanced features and capabilities, the Renogy Battery Monitor offers a comprehensive solution for effectively managing and maintaining solar power systems.
One of the key features of the Renogy Battery Monitor is its user-friendly interface, which provides easy access to vital information. The monitor displays data in a clear and intuitive format, allowing users to quickly assess the overall condition of their batteries. Additionally, it offers customizable settings and alerts that can be tailored to meet specific user needs, ensuring an optimal monitoring experience.
Another notable capability of the Renogy Battery Monitor is its ability to track historical data and trends. By recording and storing past performance metrics, users can analyze patterns in energy usage and battery health over time. This valuable insight enables users to make informed decisions regarding system management and maintenance, ultimately optimizing energy efficiency and prolonging battery life.
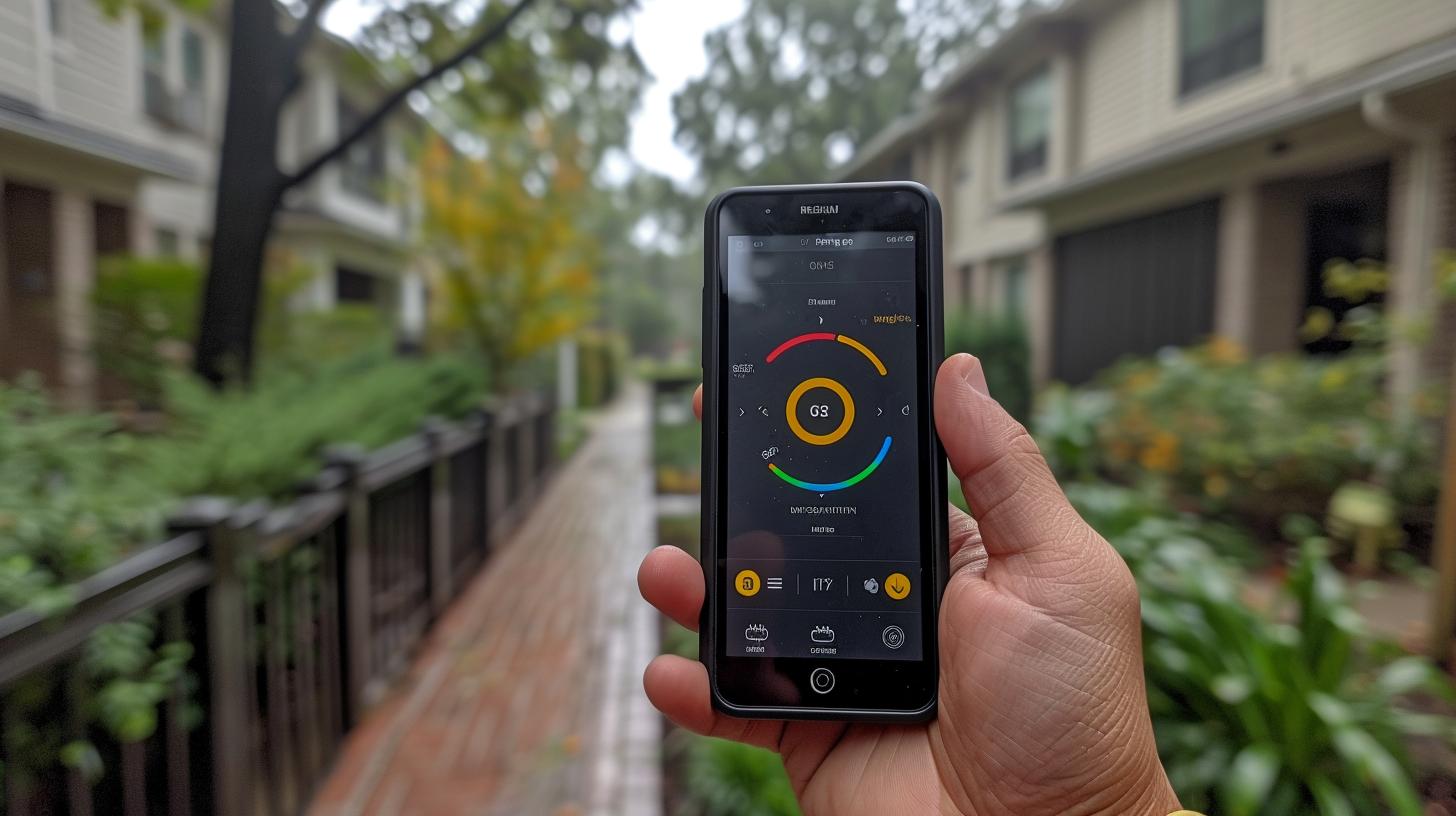
In addition to these features, the Renogy Battery Monitor also has built-in Bluetooth connectivity, allowing users to remotely access real-time data from their mobile devices. This wireless capability provides convenient monitoring from virtually anywhere, giving users greater flexibility in managing their solar power systems.
| Feature/Capability | Description |
|---|---|
| User-Friendly Interface | The monitor displays data in a clear and intuitive format. |
| Historical Data Tracking | The device records and stores past performance metrics for analysis. |
| Bluetooth Connectivity | Offers built-in wireless capability for remote access from mobile devices. |
Step-by-Step Guide to Installation of the Renogy Battery Monitor
The installation process of the Renogy Battery Monitor is an essential part of maximizing the performance of your solar system. Follow these step-by-step instructions to ensure a smooth and successful installation:
1. Preparation: Before starting the installation, make sure you have all the necessary tools at hand. You will need a screwdriver, wire cutter/stripper, drill (if necessary), and a voltage tester. Additionally, familiarize yourself with the components included in the Renogy Battery Monitor package.
2. Locate a Suitable Position: Find a location near your solar system’s battery bank to install the battery monitor. The ideal location should be easily accessible for wiring and monitoring purposes.
3. Mounting: Use the included mounting bracket to secure the battery monitor in place. Ensure that the monitor is securely attached to prevent any movement or damage during operation.
4. Wiring: Connect the positive and negative wires from the battery monitor to the corresponding terminals on your battery bank. Use wire connectors and heat shrink tubing to ensure secure connections and prevent any exposed wiring.
5. Power Connection: Connect the power cable from the battery monitor to a 12V power source, such as a fuse box or directly to your battery bank.
6. Testing: Once all connections are made, use a voltage tester to verify that power is reaching the battery monitor and that all connections are properly secured.
By following these steps carefully, you can complete the installation of your Renogy Battery Monitor efficiently and effectively. For more detailed information on installation procedures, refer to the Renogy Battery Monitor manual provided with your purchase.
Understanding the Renogy Battery Monitor Manual
The Renogy Battery Monitor is an essential tool for any solar system, providing real-time data on the status and performance of your batteries. To fully utilize the capabilities of this device, it’s crucial to understand the Renogy Battery Monitor manual. This section will provide a comprehensive overview of the manual to ensure users can effectively operate and troubleshoot their battery monitor.
Manual Contents
The Renogy Battery Monitor manual is designed to guide users through the setup, operation, and maintenance of the device. It covers important topics such as system requirements, installation instructions, and calibration procedures. Additionally, the manual provides detailed explanations of the different display modes and functions available on the monitor, allowing users to interpret the data accurately.
Operational Procedures
One of the key aspects of understanding the Renogy Battery Monitor manual is familiarizing yourself with the operational procedures. This includes how to navigate through various menus, set alarms for voltage thresholds, and view historical data on energy consumption. By following the step-by-step instructions in the manual, users can quickly grasp how to operate their battery monitor efficiently.
Troubleshooting Guidance
Inevitably, users may encounter issues with their Renogy Battery Monitor during its lifecycle. The manual offers valuable troubleshooting guidance for common problems such as inaccurate readings or communication issues. Understanding this section of the manual will empower users to resolve issues independently without having to rely on external support.
By delving into the Renogy Battery Monitor manual and gaining a thorough understanding of its contents, users can maximize the full potential of their device while ensuring seamless operation and accurate monitoring of their solar system’s batteries.
Troubleshooting Common Issues With the Renogy Battery Monitor
The Renogy Battery Monitor is a crucial component of any solar system, as it provides real-time information about the status of your batteries. However, like any electronic device, it may encounter some issues from time to time. In this section, we will address some common problems that users may face with the Renogy Battery Monitor and provide troubleshooting tips to resolve them.
One common issue that users may encounter is inaccurate readings or a display that is not updating properly. This could be due to loose connections, so the first step in troubleshooting this issue would be to check all the connections between the monitor and the battery. If everything appears to be connected properly, it may be helpful to reset the monitor by disconnecting it from the power source for a few minutes and then reconnecting it.
Another issue that users may face is difficulty with setting up or calibrating the monitor. If you are having trouble calibrating the monitor to display accurate state of charge readings, refer to the Renogy Battery Monitor manual for specific instructions on how to calibrate the device. Additionally, ensure that you have set up the monitor according to the specifications outlined in the manual.
Users may also experience issues with data transmission or connectivity between the monitor and other devices such as smartphones or laptops. To troubleshoot this issue, make sure that all devices are within close proximity of each other and try resetting the Bluetooth connection. It’s also important to ensure that all devices are using compatible software versions and have Bluetooth capabilities turned on.
| Common Issue | Troubleshooting Tips |
|---|---|
| Inaccurate Readings/Display Not Updating | Check connections; Reset monitor by disconnecting from power source |
| Difficulty with Calibration | Refer to manual for calibration instructions; Set up according to specifications |
| Data Transmission/Connectivity Issues | Ensure devices are in close proximity; Reset Bluetooth connection; Check software compatibility |
Tips for Maximizing the Performance of Your Renogy Battery Monitor
When it comes to getting the most out of your Renogy Battery Monitor, there are a few tips and tricks that can help maximize its performance. Whether you’re new to using a battery monitor or have been using one for years, these tips can ensure that you’re getting accurate and reliable information about your solar system’s battery health.
Regularly Update Firmware
One of the key ways to optimize the performance of your Renogy Battery Monitor is by regularly updating its firmware. Firmware updates often include bug fixes, improvements, and new features that can enhance the functionality of the monitor. By keeping your monitor’s firmware up to date, you can ensure that it operates at its best.
Calibrate Your Settings
Another important tip for maximizing the performance of your Renogy Battery Monitor is to calibrate your settings. This includes inputting accurate battery capacity and voltage settings to ensure that the monitor accurately displays the state of charge and other critical information. Taking the time to properly calibrate your settings can lead to more accurate data and better decision-making when it comes to managing your solar system.
Regular Maintenance and Inspections
Regular maintenance and inspections of not only your solar system but also the battery monitor itself can contribute to optimal performance. Ensuring that all connections are secure, keeping components clean, and inspecting for any signs of wear or damage can help prevent issues with the monitor. Additionally, regularly checking for updates in its manual will help maintain its peak condition year after year.
By following these tips, you can make sure that your Renogy Battery Monitor is performing at its best, providing you with accurate information about your solar system’s battery health.
Conclusion
In conclusion, having a reliable battery monitor for your solar system is essential for ensuring that you are maximizing the performance of your system and getting the most out of your investment. The Renogy Battery Monitor not only provides real-time data on the state of your batteries but also offers a range of features and capabilities to help you manage and optimize your system effectively.
One important benefit of using the Renogy Battery Monitor is its ability to track the charging and discharging cycles of your batteries, allowing you to identify any issues early on and take necessary steps to prevent damage or decrease in performance. Additionally, the step-by-step installation guide provided in the manual makes it easy for users to set up the monitor, ensuring that it is accurately measuring and monitoring battery levels.
For those who may encounter any issues with their Renogy Battery Monitor, the troubleshooting section in the manual offers helpful tips and solutions to common problems, ensuring that you can address any issues quickly and get your monitor back up and running smoothly. Overall, by utilizing a reliable battery monitor like the Renogy Battery Monitor, users can have peace of mind knowing that they are effectively managing their solar system and prolonging the life of their batteries.